Quickstart guide for a static website
In this quickstart guide, you’ll learn the process of deploying a static site on Wasmer Edge. We will cover installation of the CLI, setting up a new static site, and deploying it.
If you want to deploy a static site made from frameworks like React, Vue, or Svelte, you can follow our React Static Site tutorial.
Deploying a static site
Install Wasmer
Click here for instructions on how to install Wasmer if you haven’t done it already!
Log in into Wasmer
Create a new account in Wasmer . Then, log in into the Wasmer CLI and follow the provided steps to provide the CLI access to your Wasmer account.
wasmer loginDeploy!
We begin creating a new empty directory.
mkdir my-new-site
cd my-new-site
Then, running a single command, we can setup a static website.
wasmer deploy --template=static-website Expect to see output similar to this:
It seems you are trying to create a new app!
✔ Who should own this app? · wasmer-user
✔ What should be the name of the app? · my-new-site
✔ Unpacked template
✔ Do you want to deploy the app now? · yes
Loading local package (manifest path: ~/wasmer-user/Projects/my-new-site/.)
✔ Correctly built package locally
✔ Package correctly uploaded
✔ Succesfully pushed release to namespace wasmer-user on the registry
Deploying app my-new-site (wasmer-user) to Wasmer Edge...

App my-new-site (wasmer-user) was successfully deployed 🚀
https://my-new-site-wasmer-user.wasmer.app

→ Unique URL: https://2dyh6i3cvx1y.id.wasmer.app
→ Dashboard:  https://wasmer.io/apps/wasmer-user/my-new-site

Waiting for new deployment to become available...
(You can safely stop waiting now with CTRL-C)
The above command will do the following:
- Download the template from the registry
- Store the template locally in your current directory (try running
ls -la) - Deploy it to Wasmer Edge
Don’t change the public directory attribute in the wasmer.toml file for this tutorial.
If you want to learn how to specify a different directory for build output, check out our React Static Site tutorial.
Try clicking the URL which is under the deployment message https://my-new-site-wasmer-user.wasmer.app, and expect to see something like:
The deployment URL follows the format https://<app-name>-<app-owner>.wasmer.app

Update the app
To illustrate the lifecycle of an app, let’s edit the index.html file in the public folder:
Your directory structure should look like this:
- LICENSE
- README.md
- app.yaml
- index.html
- config.toml
- wasmer.toml
Lets modify index.html:
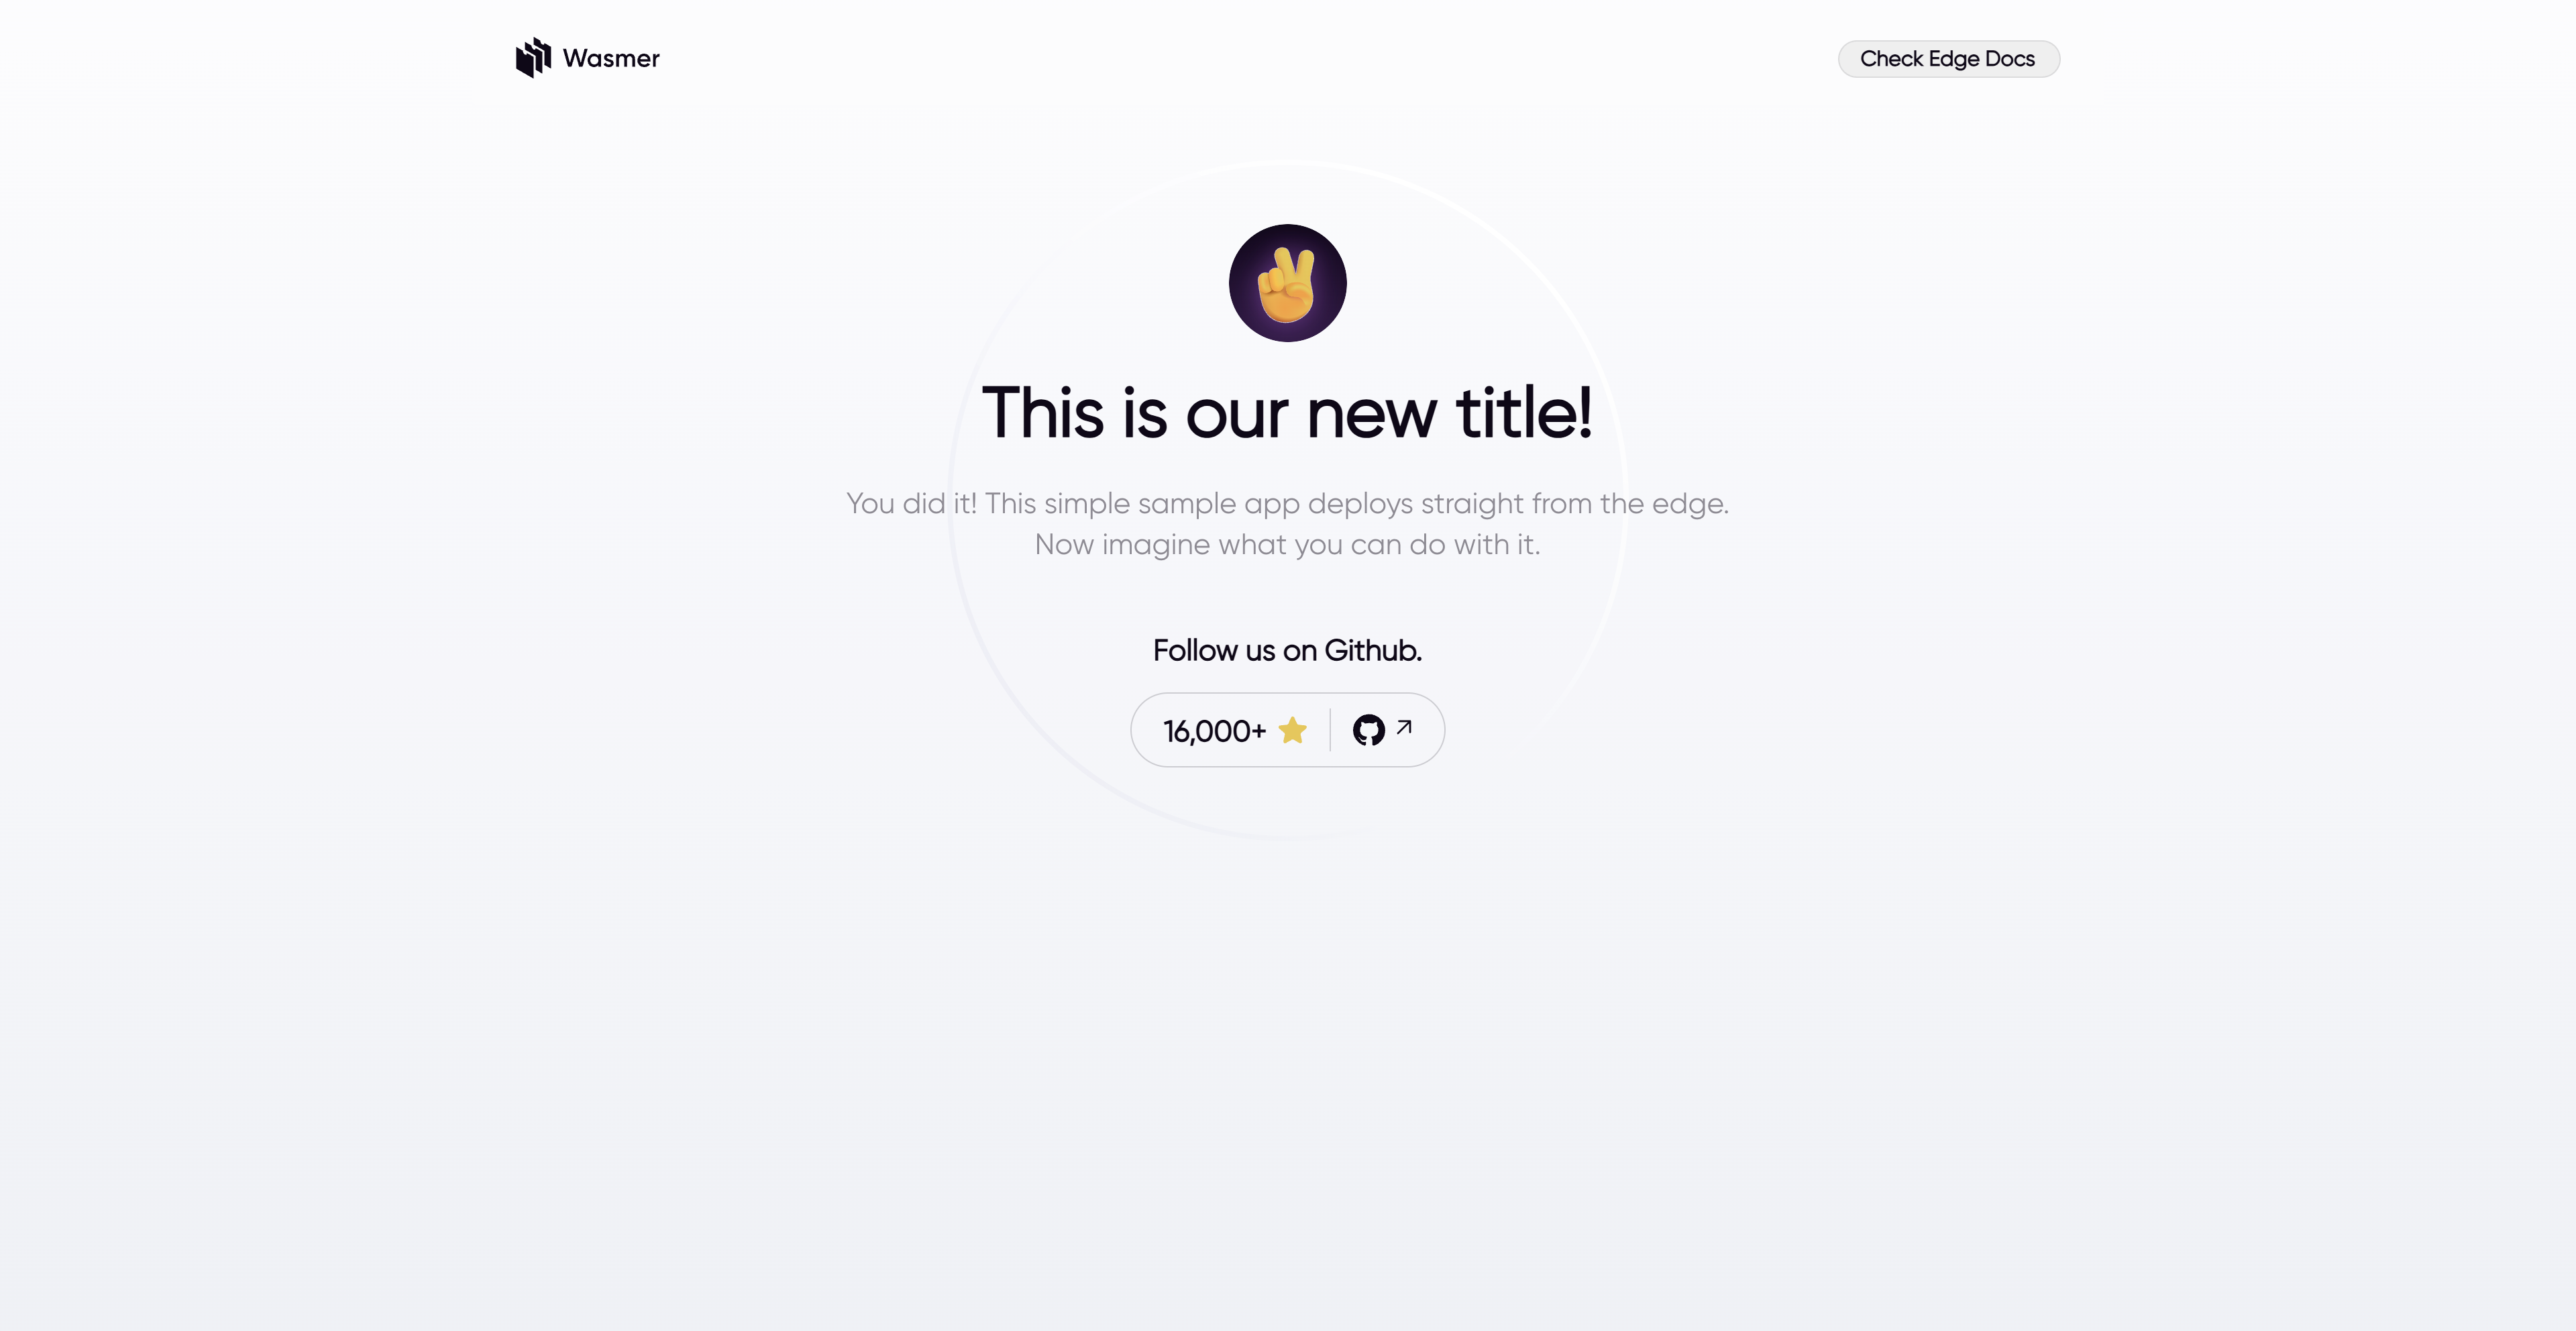
sed -i -e 's/Hi from the Edge/This is our new title!/g' public/index.html Now, let’s redeploy it:
wasmer deployWhen refreshing the browser, expect the page to have been updated:
Add your content
Currently, the public directory only contains a basic index.html file.
You can now modify this directory and copy your own files (HTML, CSS, JavaScript, images, etc) as needed.
Test your site locally
You can also test your site locally before deploying the app on Wasmer Edge by running the following command:
wasmer run .This will start a local server using the Static Web Server on http://localhost:8080.
You can also specify a different port by passing the --port flag, as in wasmer run . -- --port=<your-port>.
The arguments after -- (double dash) are passed to the underlying server running in the Wasmer runtime.
You can see all the available options with wasmer run --help or click here to see the full documentation.
To see all the avilable options for the static web server, run wasmer run . -- --help.
Conclusion
Congratulations! You have successfully deployed a static site on Wasmer Edge 🚀.
Tip: To make changes to your site, simply modify the files in the public directory and run
wasmer deployagain to deploy the changes.